Showing posts with label The Liberty Book of Home Sewing. Show all posts

Sunday, 8 January 2012

Walk, Sit and Roll

My weekend has consisted largely of walking, sitting and rolling. Let me explain.

Today as the weather was nice and sunny in Plymouth we decided to head up to Dartmoor with some friends to walk a two hour planned route (by planned I mean two of them had done it before and thought they might be able to remember it.) We started in Princetown and soon discovered the weather was most definitely not the same outside of Plymouth. Not to be defeated we started along the path.....


I'm sure there were some lovely interesting historical facts about our location but the weather was so bad we had to look down so as not to slip. We did stop to see the ponies though....


... and the sheep.


At some point after heading up a Tor we turned off the track as it was waterlogged and we choose to follow the tracks the sheep had made.

This actually turned out to be a good plan as we stumbled across lots of different things that I'm sure the planned route didn't include.


We all agreed by this point the weather was better but it was too late as we were nearly there, so we headed back to the car soggy and cold. Even the OH's jacket had given up pretending to be waterproof and for some bizarre reason it painted him white?!?


He had bought some Nikwax from Go Outdoors the day before to re-waterproof it, but as it turns out we were just a bit late getting around to it - oops. I hope it didn't stain our friends lovely clean car!

Speaking of Go Outdoors that leads me nicely onto the sitting part of my weekend. As we had a 50% off voucher for Hi Gear stuff there we went as we need some chairs for camping.

Previously in every camping shop we have been in so far the OH has sat in the moon chairs and refused to consider any of the others. So off we went finally to try all the others in the store, he was like goldilocks and her porridge, too high, not enough back support, too flimsy.... After spending half of my Saturday sitting down and getting back up again I gave in and we walked out with two moon chairs.

He has now decided that if we do move to an bigger place (to fit all of the camping equipment in) then he doesn't have to purchase a sofa as he's quite happy in his moon chair.

Oh and we also bought a kettle, some Nikwax, butane gas and a roll up water bottle, well it was 50% off!


And finally the roll up water bottle kind of leads me to the rolling part of my weekend (I know I'm pushing the links here but hey ho).

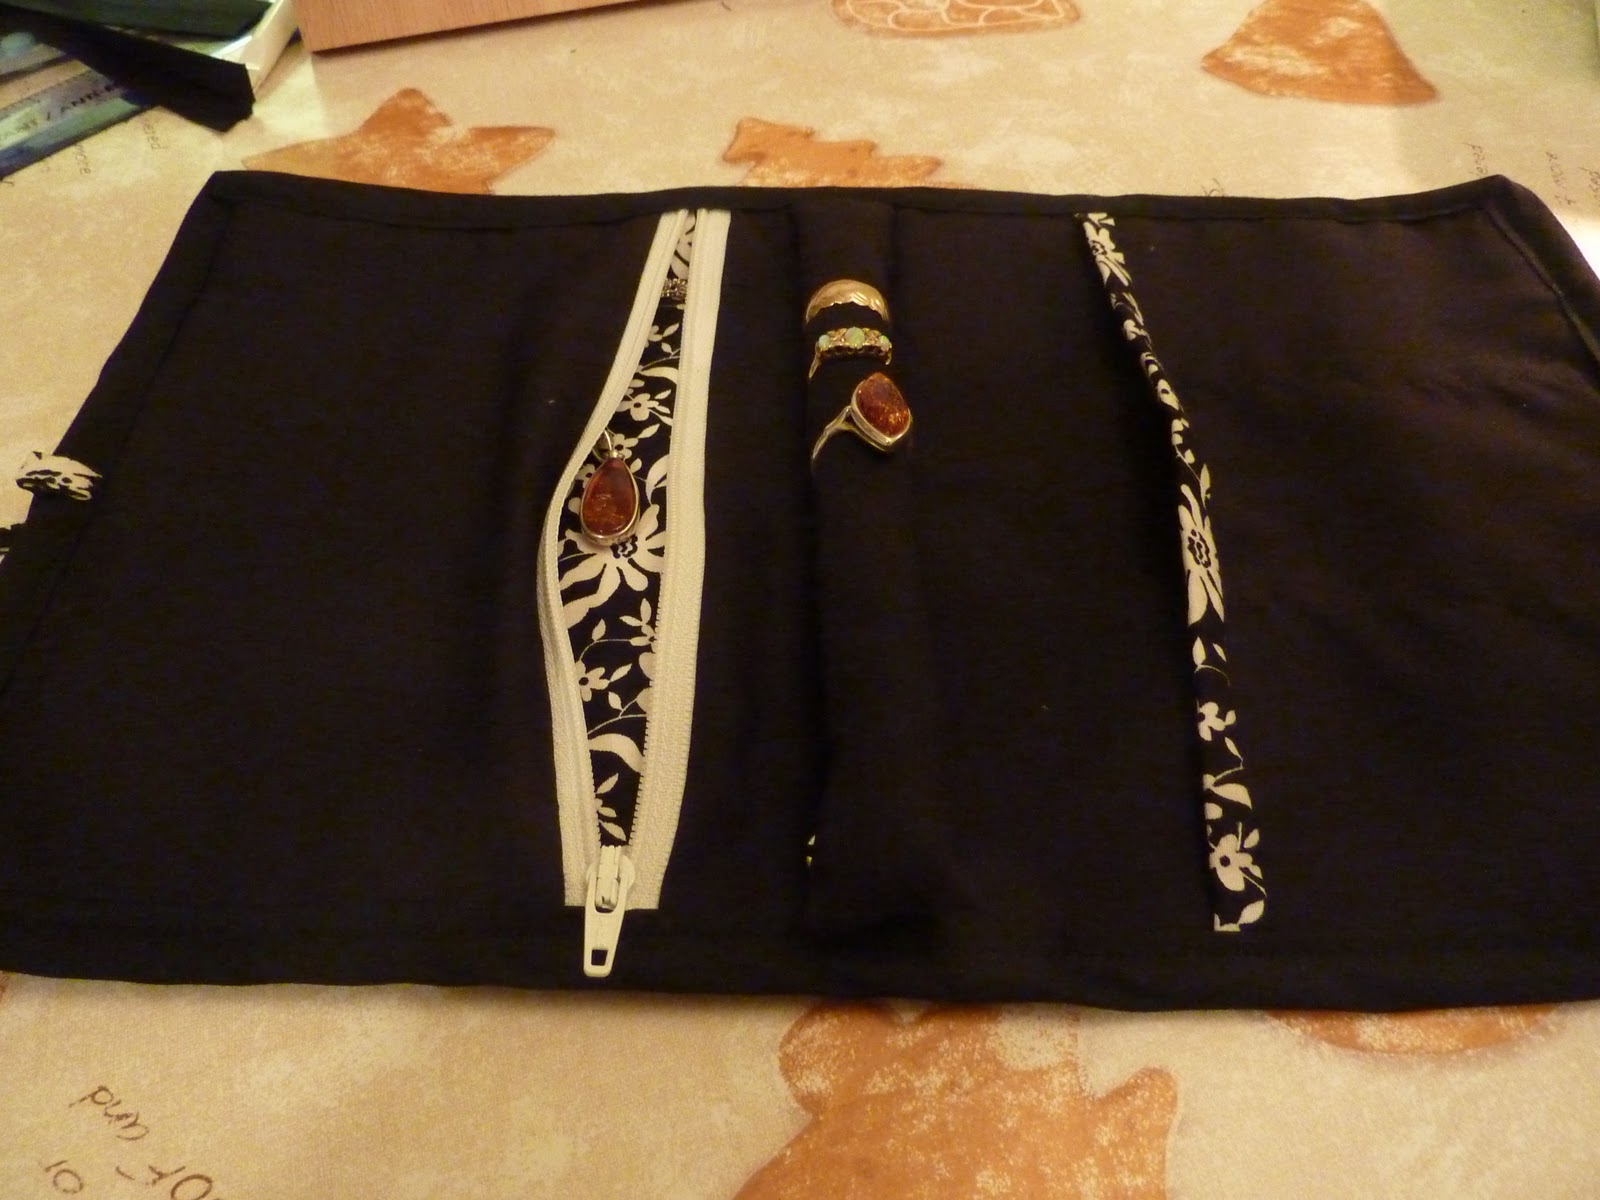
I decided to have another go at sewing something and chose the 'Travel Jewellery Roll' out of the Liberty book again. It seemed quite complicated (it has a zip and everything) so I thought it would be good practice. After figuring out how to change the foot on the sewing machine, with the help of Mousey I successfully completed the zip part.


Next came the pocket with a slipstitched (again) edge and channels running through it.


The next bit was to make a part for rings to go on that clipped into place. So after a quick run to Dunelm Mill for a pillow to use as stuffing it turned out like this.


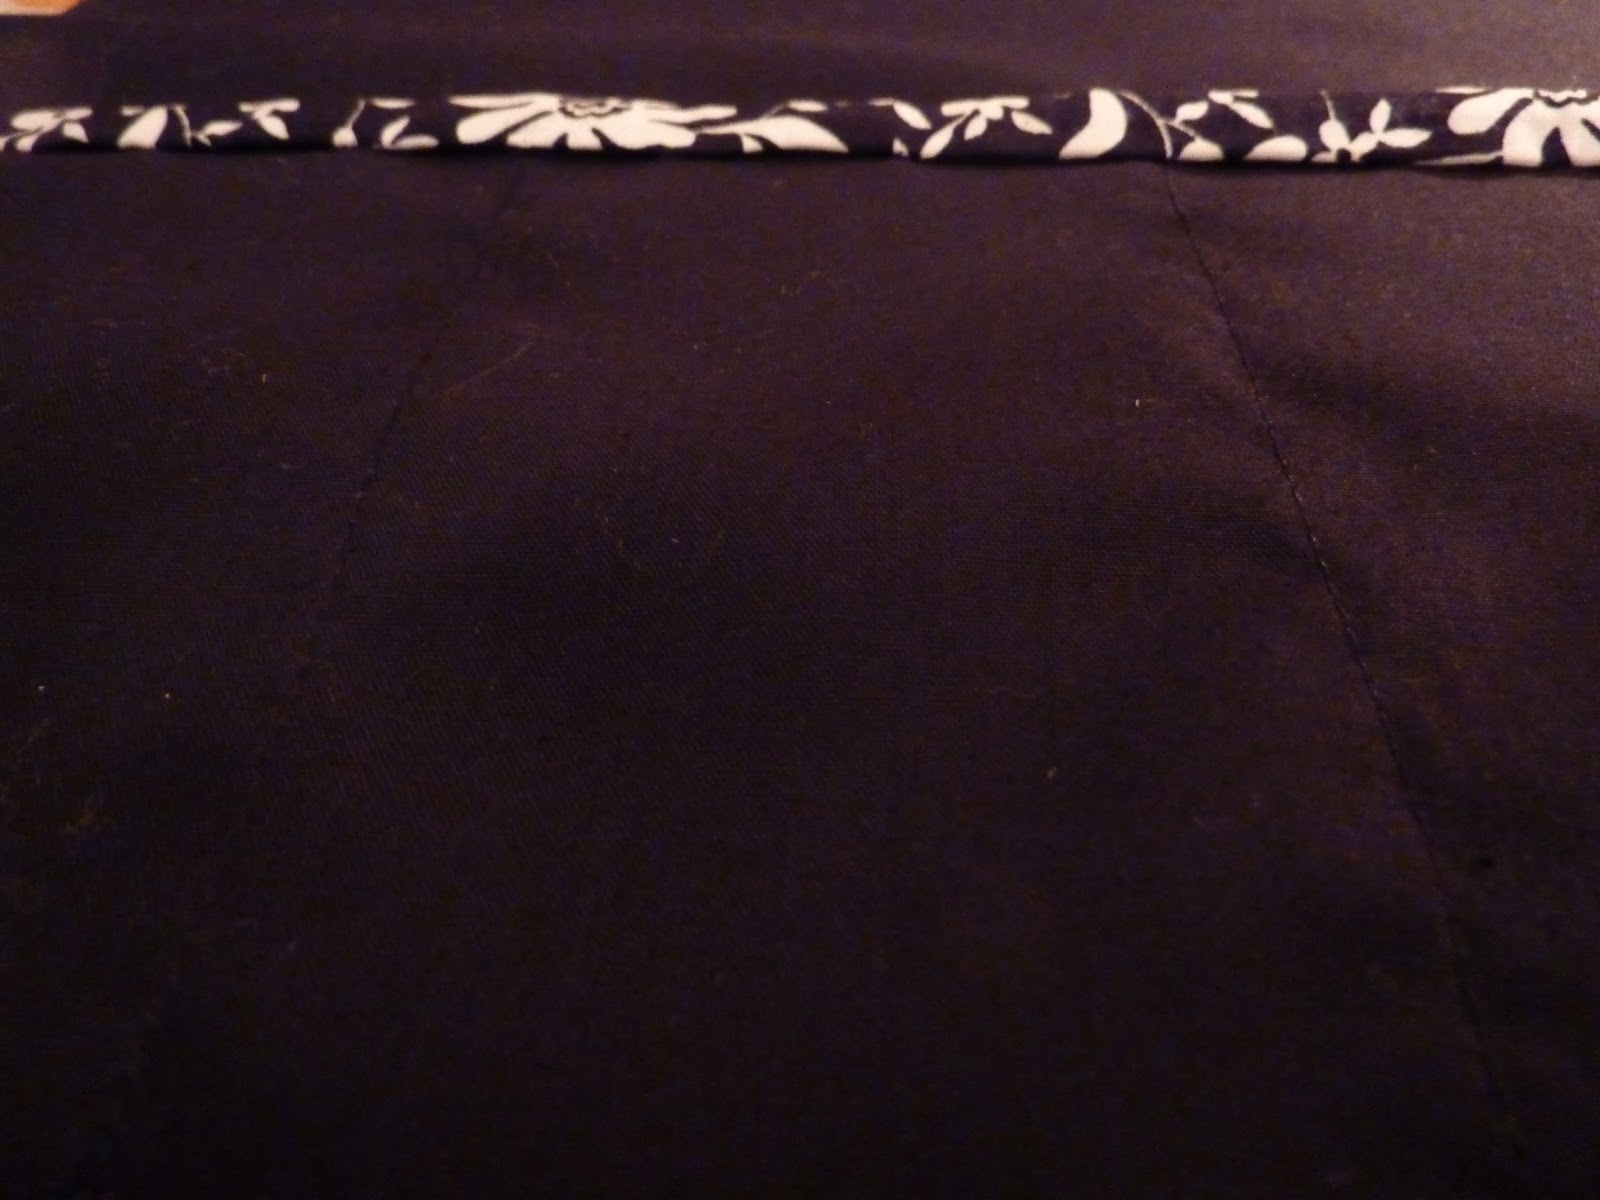
The final stage was adding all the layers together tacking and stitching them, then edging it all with bias ribbon and making a strap.


And here it is all finished, I was pretty impressed with how it turned out even if I do say so myself.


And that concludes my weekend of walking, sitting and rolling :-) I hope you enjoyed, now I'm off to sulk about having to go back to work tomorrow.

Friday, 6 January 2012

My First Sewing Project (ish)

Yesterday I set up my new Singer sewing machine (courtesy of the OH) and after butchering a lot of material and thread I finally got it going. Here's the machine in all its glory.


My first project was actually a book cover but it was a complete fail as it didn't fit anything but Lord of Rings - not great, so I decided that today I was going to make something 'useful' from The Liberty Book of Home Sewing.

I'm not sure why as I have no particular use for it but I thought the Sugar-Bag Doorstop was a good a place to start as any.

So first I cut out all the required pieces of material, one main piece 40cm x 20cm, a handle piece 17cm x 10cm and three end pieces 14cm x 9cm. As a complete novice I didn't question at this point why I needed three end pieces for a rectangular shape!?!?!


Next came constructing the handle, I couldn't understand the instructions as they seemed to imply to sew it the wrong side out so I used some artistic license and reversed them. My way to make it was by folding and pressing a 1cm turning on the long sides, then folding in half so these sides met and then stitching all the way around. Afterwards I stitched it to one of the three end pieces.


Next I stitched the larger main piece and pressed it into the shape that matched the top end, including a 1cm (very roughly) seam allowance. After pinning and tacking it into place it looked like this.


So far so good, though this was a bit fiddly. I never thought I'd be a fan of ironing but I would have made a right mess of it if I hadn't done so. So next I stitched along the tacking twice, four times on the handle areas. 


Now for the elusive three end pieces, very boring really, two layers were used on the bottom to reinforce the base. So I tacked these together, with the help of mousy my pin cushion, and repeated the previous step by this time leaving a 8cm space on one long edge to turn the fabric the right way around and fill.

Speaking of filling, I hadn't quite got this part figured out when I started the project. I had seen the name Sugar-Bag Doorstop and stupidly picked up an extra bag of sugar at Morrison thinking it went inside as it was. However after thinking it through (or in truth being told by my mum sugar wouldn't be great as we might get mice) I decided to raid the cupboard for rice. 

Luckily we had a 1kg bag (there goes the chilli con carne planned for dinner) but this hardly filled it at all. So after filling it with a combination of country soup lentil mix, cous cous and paella rice the doorstop was almost complete. 


Now for the final bit, closing the gap used to fill it with the entire contents of the kitchen. The instructions said "neatly and securely hand sew the opening closed, using slipstitch". Slipstitch?!?!?! After a phone call to my mother (no idea) and a few repeat views of youtube videos I was pretty impressed with my invisible seam. 


So there, finally a completed doorstop, not that any of my doors close on there own. Ah well I'll use it for now as a book end.


If you want more information on the instructions then please get in touch, or if I were you buy the book, this project starts on page 37. 

Oh and as for the sugar, it will be used just fine as after returning from my mums for the christmas holiday I'm now having more sugar in my tea than ever.