Showing posts with label sewing. Show all posts

Sunday, 17 February 2013

Busy Bee in the New Year

Well what a start to the new year, I've been very productive so far...long may it continue.

With the OH out of the house on a course it was time to tackle the uninspiring brown spare bedroom. This is what it looked like before...


 The first coat going on...eeek heck good job he wasn't around to see the state of it at first...


But after two coats and three evenings of hard work it was finished!


Well almost, just had to hide the ugly printer...


and embroider some birdies...


...to make a garland!


And then make a random postcard...not quite sure why - but it looks good on the bookshelf.


On a roll I moved on to the dining room to take the curtains up (they had only been waiting for two months). Turned out it was an easy job after all, I didn't even have to take them down..


Not bad for a first attempt - plus I had some matching fabric left over. 

I'm eventually going to make a table runner with the rest of it, but I have used a tiny bit for some flowers on a storage hanging thingy to hide the boiler cupboard and store all the post in...


So that was January, very busy. And February seems to be following the same pattern.

For Christmas the OH bought me a voucher for a furniture painting workshop that we heard about when buying the numbered chest of drawers at the local antique shop. So off I went to play with all the Annie Sloan colours and armed with a very orange pine chair to be transformed.


After learning different techniques in the morning and having a play with all the colours it was time to tackle the pinetastic chair...


Although you dont have to prepare the surface before you apply the paint I did sand it down a bit so when I began the distressing part the orange varnish didn't come through.

After two coats of French Linen paint, a coat of wax, some distressing, another coat of wax and a new seat pad it was ready to go back in the spare room.


Amazing, and all in one afternoon! Which is why I attacked another chair this morning with a different colour, Old White - well the chairs and paint were free......


..and this time I could use the electric sander I got for Christmas too...


...and the spare curtain that was in the attic, which I used to re-cover the manky seat...
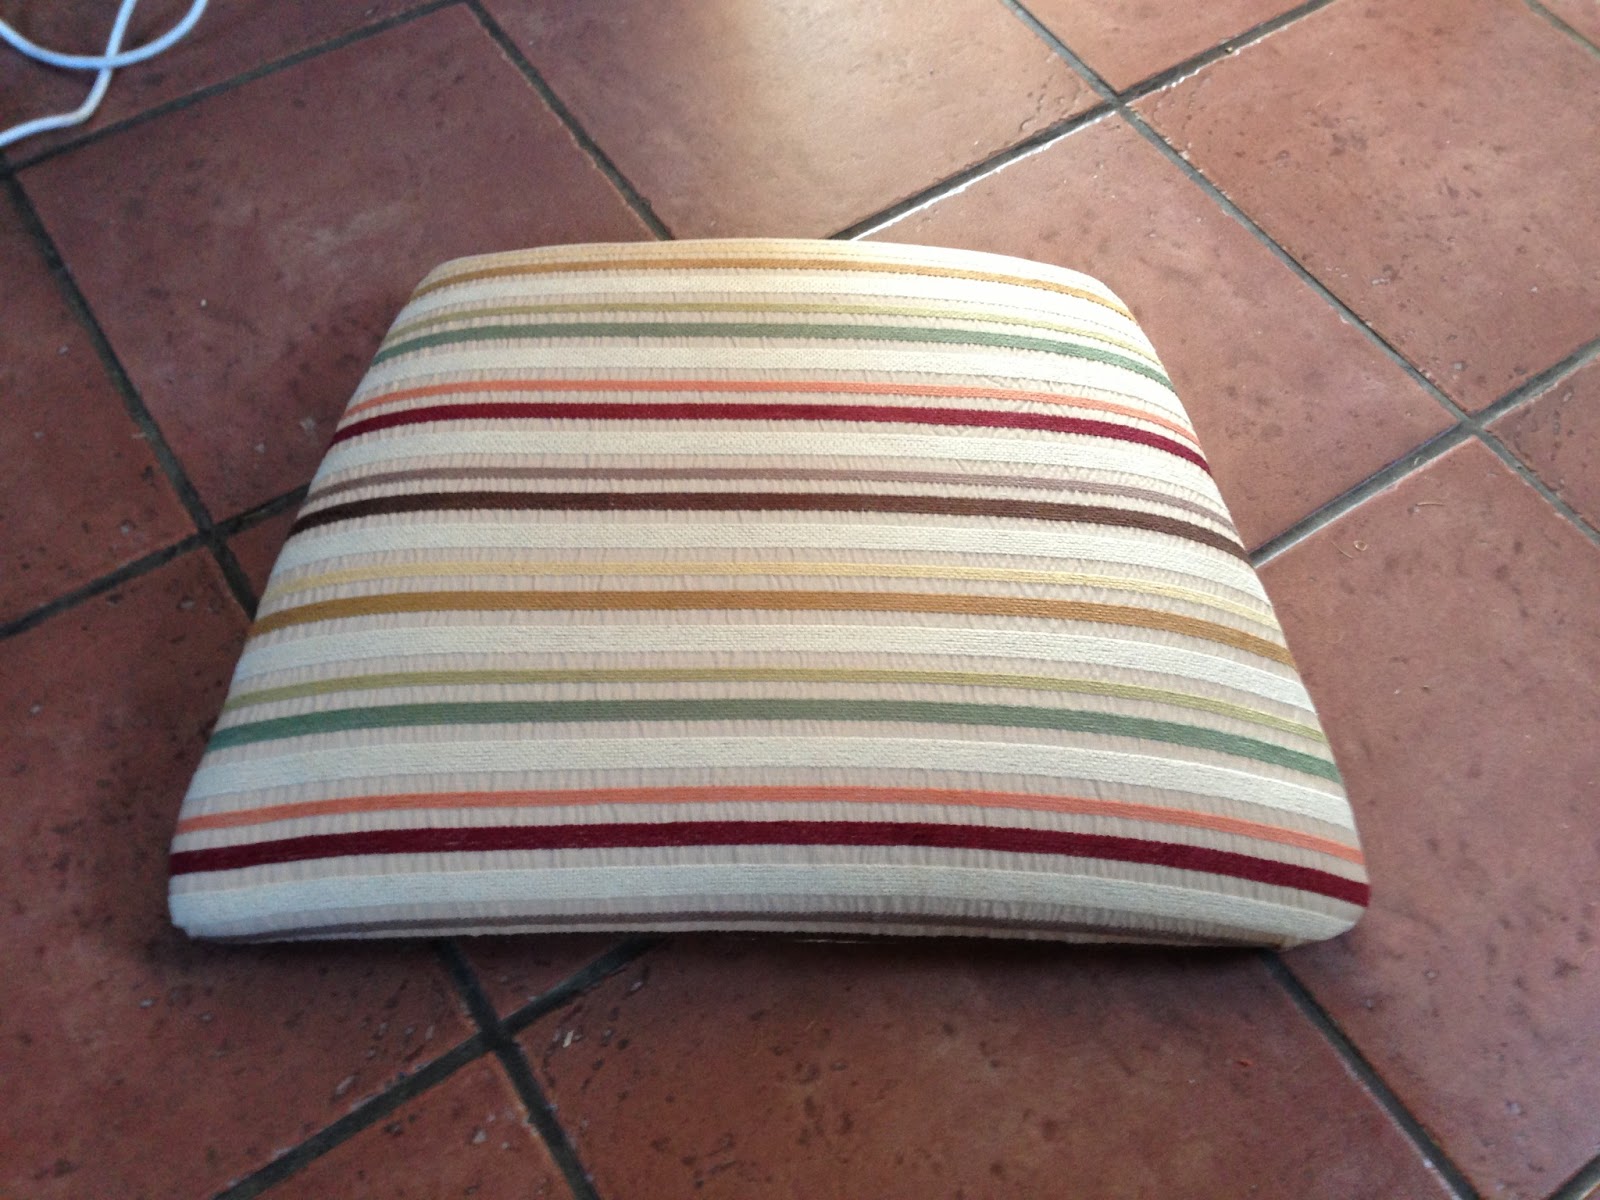

Ta Da!!!!


Now where can I put the other two chairs?????

Tuesday, 24 April 2012

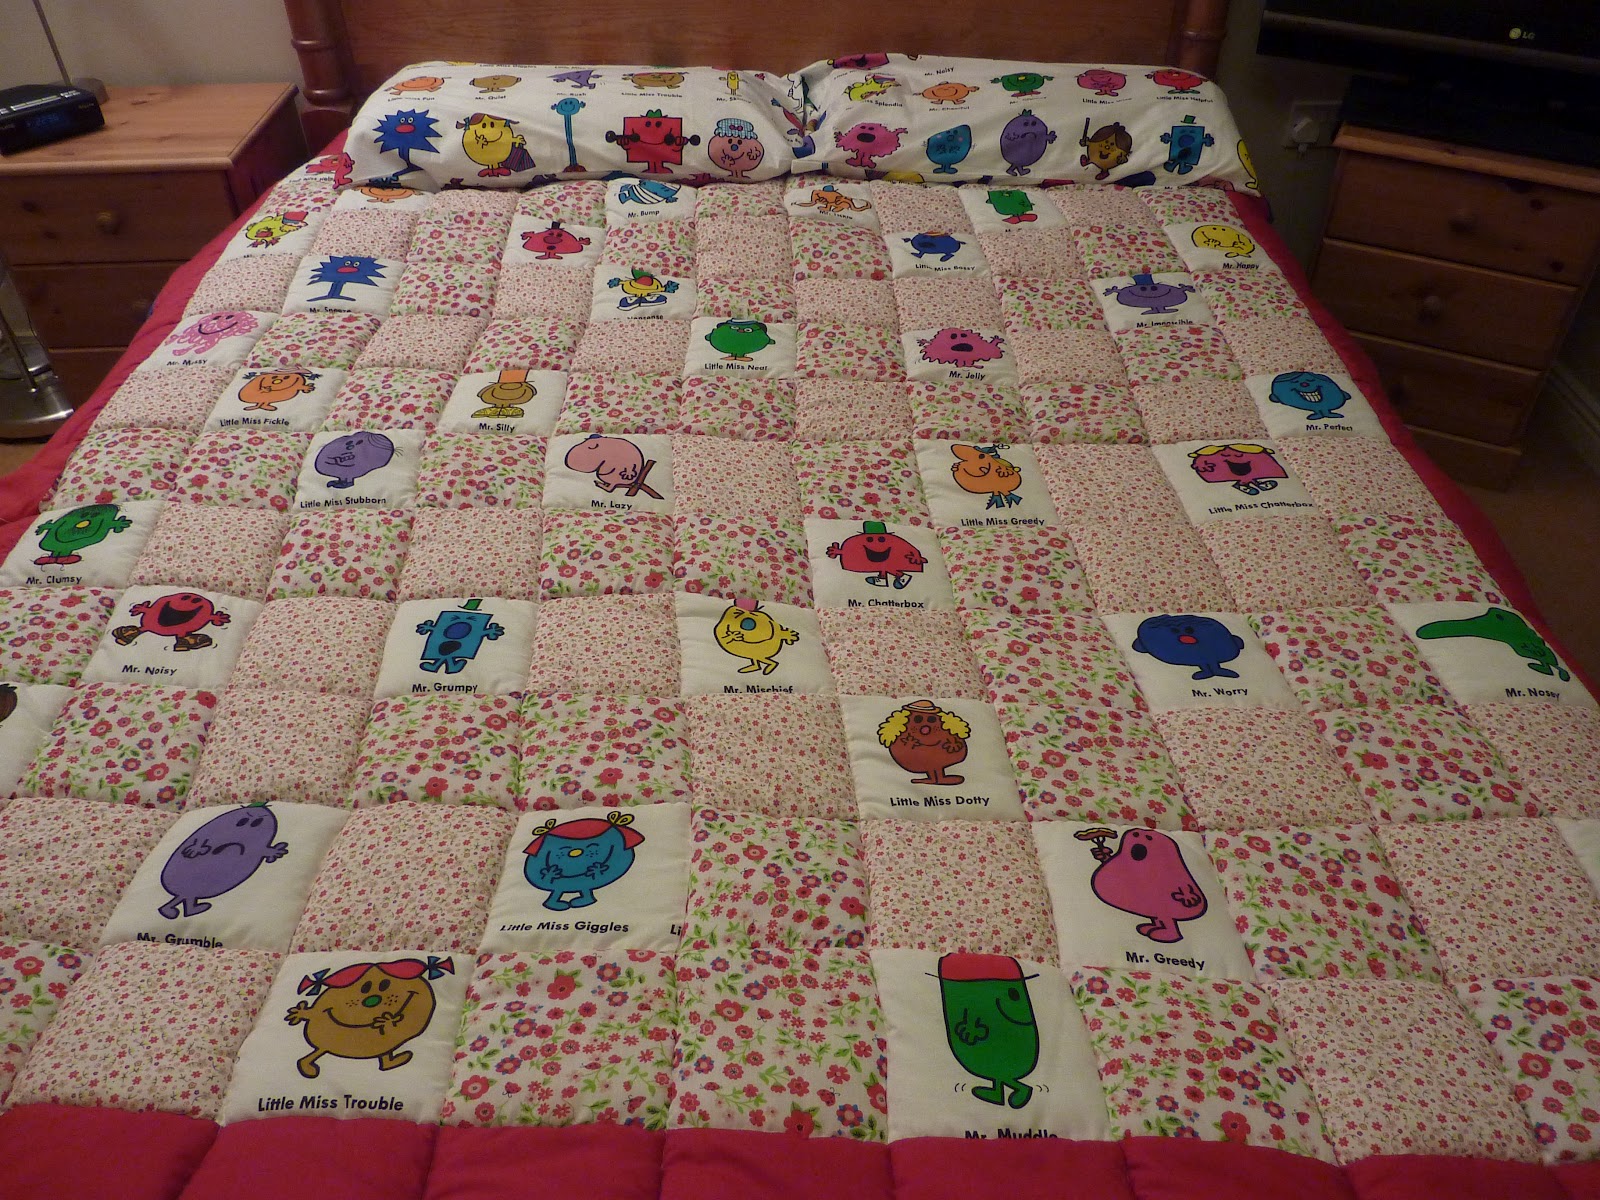
My Very Own Mr Men Quilt

After bugging mum to death it turned out I was most definitely NOT going to be able to steal her Mr Men quilt which would look lovely inside my tent.

So I gave up bugging and set out to make my own. Last week in Bude I picked up some fabric to go with the Mr Men quilt cover I already had.


My plan was to rip the quilt cover in half and save one side to turn back into a quilt cover backed on plain fabric and use the Mr Men from the other side to make the blanket like quilt. 

Here's the quilt cover all finished...


...complete with button holes and everything ;-)


Next came the quilt/blanket and the Mr Men got sliced and diced into 16cm x 16cm squares.


Now I just had to do the patterned fabric, only 182 squares to go.

After cutting them out after work for about three days I took over the living room to lay them out in my final design (after much deliberation, a few phone calls and emails for opinions - sad I know!)


Next came stitching them all together. I took the first two from each column and stitched them right side together, one after the other in a strip.


I just carried on this way until I had all of the horizontal squares sewn together in lines - well after I changed my first mistake of stitching Mr Clumsy the wrong side up...


but I undid it and put it right! - naughty Mr Clumsy....


and my second mistake came when somehow Mr Daydream moved over a square to the left from the original pattern...


...but I carried on anyway and soon had all the squares together.


Next came the quilting part - if I could just get the batting sewn together to the right width!!!!!


Eventually I got it through the machine and then layered it like a sandwich with fabric on both sides. 

Now just the easy part of quilting it - yer right!!!!!

After every single swear word was used, two needles were broken, a spool of cotton was wasted as it kept puckering, the sewing machine sliding across the table every two minutes and the living room looking like a cotton wool and pin factory I finally got every square outlined.


All I had to do was trim the sides and add the edging and it was finished. 


Ta da!! 


A bit higgledy piggledy but it was my first go at something so big and I'm sure it will keep me warm.

Now to try it out camping in two weeks time :-)

Sunday, 19 February 2012

Bags and bags of Lego!


So you have already seen the Lego Camper Van set I got for Christmas, but I have quite a few other Lego sets hidden away in a box on top of the wardrobe. I like to keep each set separated all neat and tidy, a bit OCD I know, but at least it's nothing like the huge box I had as a child, no random bits of board games, mouldy food or pretend lego in sight.

Although the sets were all separated it wasn't ideal as they were just in carrier bags that are definitely not pokey-bits-of-plastic proof.


Here are some of the sets I have:

Fire Station (7240)
VW Camper Van (10220)
Police Station (7498)
House (4886)
Shark (4506)
Harry Potter Hogwarts Express (4758)
Harry Potter Durmstrang Ship (4768)
Camper (7639)
Medieval Village (10193)
Toy Story Buzz Lightyear (7592)
Toy Story Lotso's Dump Truck (7789)


Oh my I have a lot of Lego, this isn't all of it either - eek! 

I decided it was about time I got the sewing machine back out and put it to good use. After digging through the carrier bags and trying to work out what they all where I figured I would need at least 11 bags in two different sizes. 

Amazingly I found a set that I hadn't built and had forgotten about. It was sitting patiently in the sealed packets inside a carrier bag. Whooooo hoooooooo more Lego to play with after the bags were done :-D

I started making the bags to contain all of this lovely Lego by cutting two pieces of canvas material and attaching each strip to the opposite side of the zip with the material the wrong side up. 


Four zips done, only seven more to go!


After I finished sewing all of the zips on I made sure they were opened and then stitched all around the three open edges on the wrong side.


Then I just had to turn them inside out and stuff them with Lego. 


Here they are all finished, much better for my OCD. They are a bit plain and boring so I might add some embroidery or something on them but not yet......


......as it was time to move on to build the set I had completely forgotten about. This set (5868) is great as you get the instructions to make different creations with the same pieces with varying difficulty levels. Can you tell what I built first?


A ferocious dinosaur :-D


Now to pull it all apart and make the harder creator.....


......a crocodile.


Here he is in action